

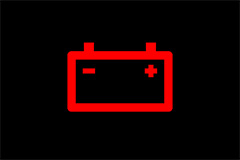

What Does Battery Light Mean?
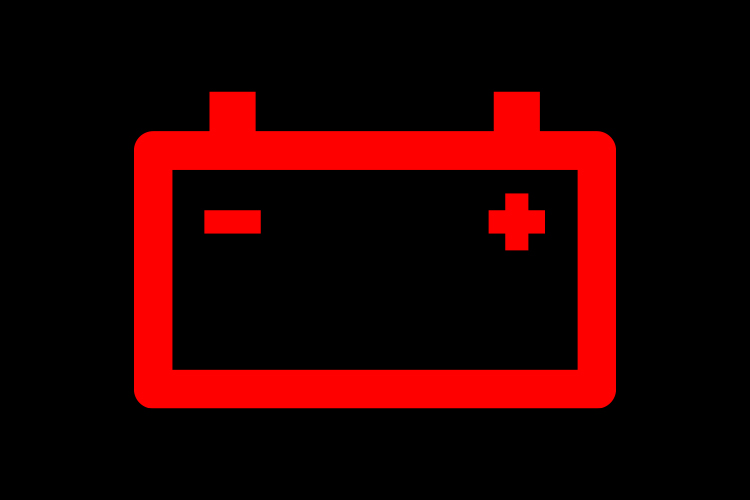
The battery warning light is a light in the shape of a battery symbol. If you start your car and the battery light appears, there’s no underlying issue. It’s normal for the light to show when you first turn on your car – it’ll disappear after some seconds.
However, if it appears on your dashboard while driving, you must act. It means the charging system isn’t working.
Therefore, the car isn’t getting enough voltage from the battery to operate normally.
Is It Safe to Drive with The Battery Light On?
No. Driving with the battery lights on is unsafe because a weak battery might affect some of your car components.
This can include computerized accessories, alternators, etc. A car’s electrical system is a closed-circuit system; when one component fails, other serious damages may occur.
In addition, if the car’s battery light appears and stays on while driving, your alternator uses the energy stored in the battery.
With time the battery will eventually drain completely, and the engine will stop working. This is why driving a car with the battery light on isn’t a great idea.
Why Is the Battery Light On?
The battery light on the dashboard could be the only warning sign before your battery completely dies. So, never ignore it. Some of the common reasons behind the battery light on the car include:
- Loose battery cables
- Corroded battery terminal
- Faulty wiring
- Broken alternator belt
- Bad battery
- Faulty alternator
Check out my article to learn more about the causes of the car battery light and how to fix it quickly.
The next part has information that’ll help you identify the specific reason behind the battery light on your car and how to fix it.
What to Do When the Battery Light Comes On

Step 1: Look for corrosion
To know if there’s any corrosion, you’ll have to remove the battery terminal covers.
Suppose there’s any greenish or white substance on or near the terminals; that’s corrosion. Terminal corrosion can affect current conduction from the battery to essential parts of your car.
Thankfully, cleaning corrosion is inexpensive and simple. You can create your cleaning solution using baking soda and water or buy a battery-cleaning product. Scrub the corroded parts until the corrosion is gone.
However, note that you shouldn’t handle battery corrosion with bare hands. Always wear a pair of gloves to protect your hands.
Step 2: Secure the clamp cables
Check for loose clamps. If they’re loose, tighten them to the terminals using a pair of pliers or wrenches.
Step 3: Check the battery cables
You should also inspect the battery cables. They’re responsible for carrying power from the battery to different vehicle parts. If the cables are in poor condition, the critical parts of the car might be getting less power to function properly.
Step 4: Inspect the alternator belt
In most vehicles, the alternator belt is at the front of the engine and, thus, quite easy to spot. But in some vehicles, they’re hidden, and you must remove the engine covers to access them. If your vehicle’s engine is mounted horizontally, then the alternator belt is either on the left or right part of the engine bay.
Check and ensure the electrical connection to or on the alternator is tight and secure.
Step 5: Read the trouble codes with a diagnostic scanner
Have you checked all possible issues, such as corrosion and loose cables, and fixed them, but the light is still on? If yes, this means there’s another underlying issue you can’t locate physically.
In such a situation, you should use a diagnostic scanner. It’ll effectively diagnose the vehicle’s electrical system, detect any errors, and troubleshoot them. The best part is that you don’t need to be a pro to use a diagnostic scanner.
Just plug it into your car’s OBD port and turn on the engine. Press the “Read” button, and the scanner will immediately start reading codes and tell you what they mean.
Let me share with you my encounter with this light.
Recently, a client brought in his 2006 VW new beetle with a battery light issue. After several physical checks on the engine, I couldn’t see any causes that needed fixing; however, the battery light was still on.
So, I plugged in my Autel MK808 OBD II scanner (Here’s my in-depth review on Autel MK808), and it immediately showed me the trouble code P0562, meaning System Voltage Low.
I did another physical check and noticed the issue was the alternator’s serpentine belt – how could I have missed that? It took me a few minutes to replace the belt correctly.
I then turned on the car, and there was no battery light.
Step 6: Fix the problem
Depending on the codes, you can replace or repair parts with issues. However, you might need to call a professional to repair serious issues like a damaged alternator.
Step 7: Clear the trouble codes
Press the “Erase” button on the diagnostic scanner to clear trouble codes. Doing this should turn off the battery light. The “Erase” or “Clear” button will permanently eliminate the codes regardless of the scanner brand or model.
What’s Next?
You now know the causes of the battery light on your car, which include a bad battery, faulty wiring, and much more. But with the fixes above, you’ll be able to solve the battery light issue and have your vehicle functioning as normal.
Additionally, a diagnostic scanner is a powerful tool that can help you discover the most hidden issues without needing mechanics. Check out my review on the Best OBD2 scanners and get one that meets your needs and budget.
Recommended for you
Auxiliary Battery Malfunction Mercedes: 5 Causes and How to Fix It
BMW Charging Malfunction: 6 Causes and How to Fix It
BMW Yellow Triangle Warning Light: 4 Causes and What to Do